4 × 4 vs 5 × 7 embroidery hoop: what fits and which to buy
4 × 4 vs 5 × 7 embroidery hoops in real millimeters: 100 × 100 vs 130 × 180 mm, the 101.6 mm trap, rotation, what fits, stitch limits and which machine to buy.
Brother’s 4 × 4 field is 100 × 100 mm and its 5 × 7 field is 130 × 180 mm, which gives 5 × 7 about 2.34 times the stitchable area. A 4 × 4 field handles monograms, left-chest logos and small motifs; 5 × 7 adds T-shirt fronts, totes and most design-shop sizes. Always check designs in millimeters: a design sized at exactly 4 inches is 101.6 mm and can be too big for a 100 mm field.
4 × 4 = 100 × 100 mm (10,000 mm²); 5 × 7 = 130 × 180 mm (23,400 mm²), about 2.34× the area.
The 101.6 mm trap: 4 inches is wider than a 100 mm field, so check designs in millimeters.
A 90° turn helps on a 5 × 7 field (170 × 120 mm fits sideways) but never on a square 4 × 4.
Jump to a section
Our shortlist
Picks are based on published manufacturer specifications checked October 7, 2026. Confirm current price, warranty and included accessories with the seller.
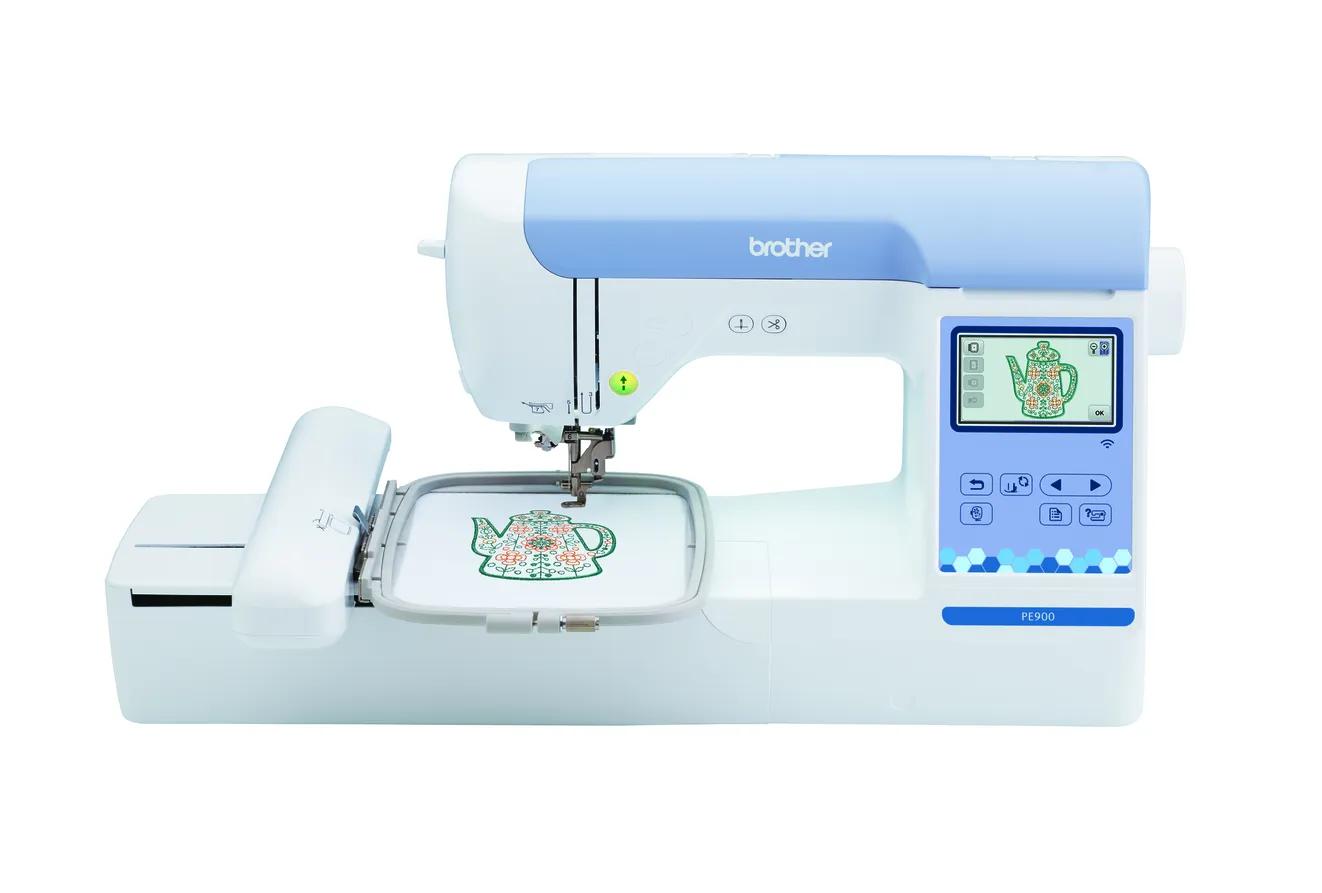
5 × 7 embroidery-only: most beginners who already sew or only decorate
Hoop size is the single most important choice when you buy a first embroidery machine, because it is the one you cannot change later. The names “4 × 4” and “5 × 7” sound simple, but they are rounded inch labels for millimeter limits, and the gap between them is bigger than the numbers suggest.
This guide uses Brother’s published field sizes and manuals (checked October 7, 2026) to show exactly what fits, where the traps are, and how to choose. EmbroideryWise is research-based; the sizes and limits below are attributed to their sources.
The real limits, in millimeters
4 × 4 class
5 × 7 class
Brother’s stated field
100 × 100 mm
130 × 180 mm (manual: 180 × 130 mm)
In inches
3.94 × 3.94 in
5.12 × 7.09 in
Area
10,000 mm²
23,400 mm²
Relative area
1×
2.34×
Brother machines (current)
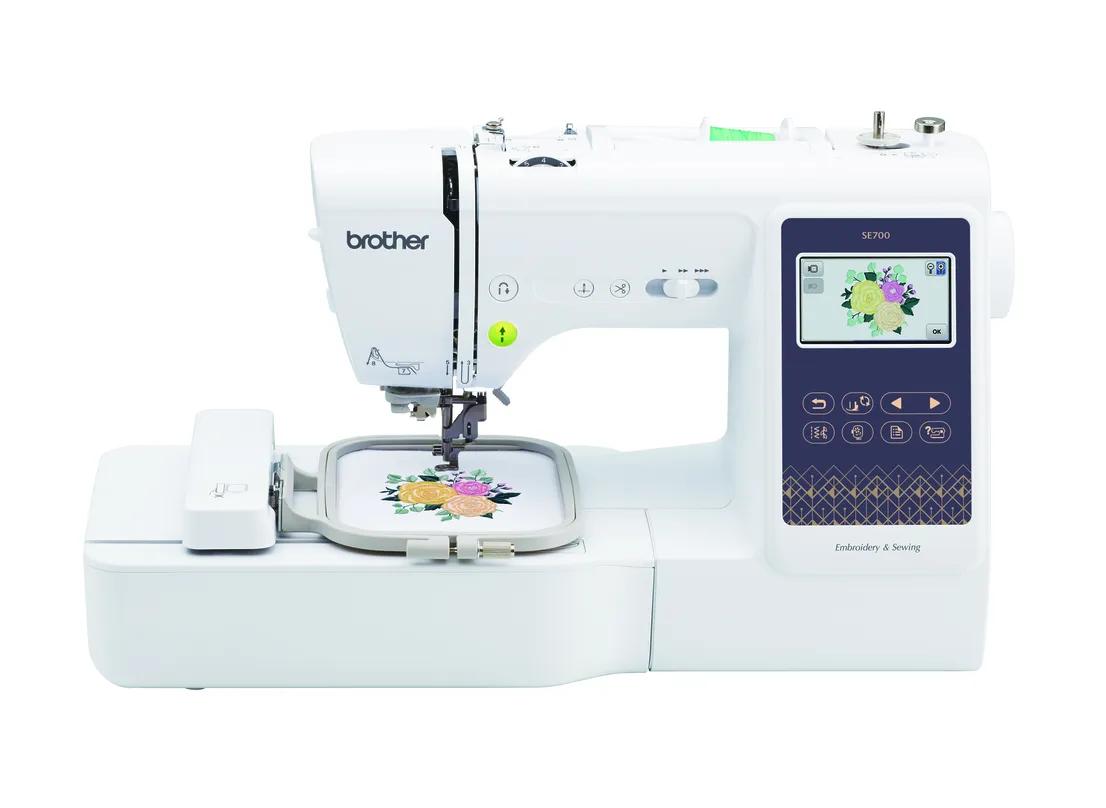
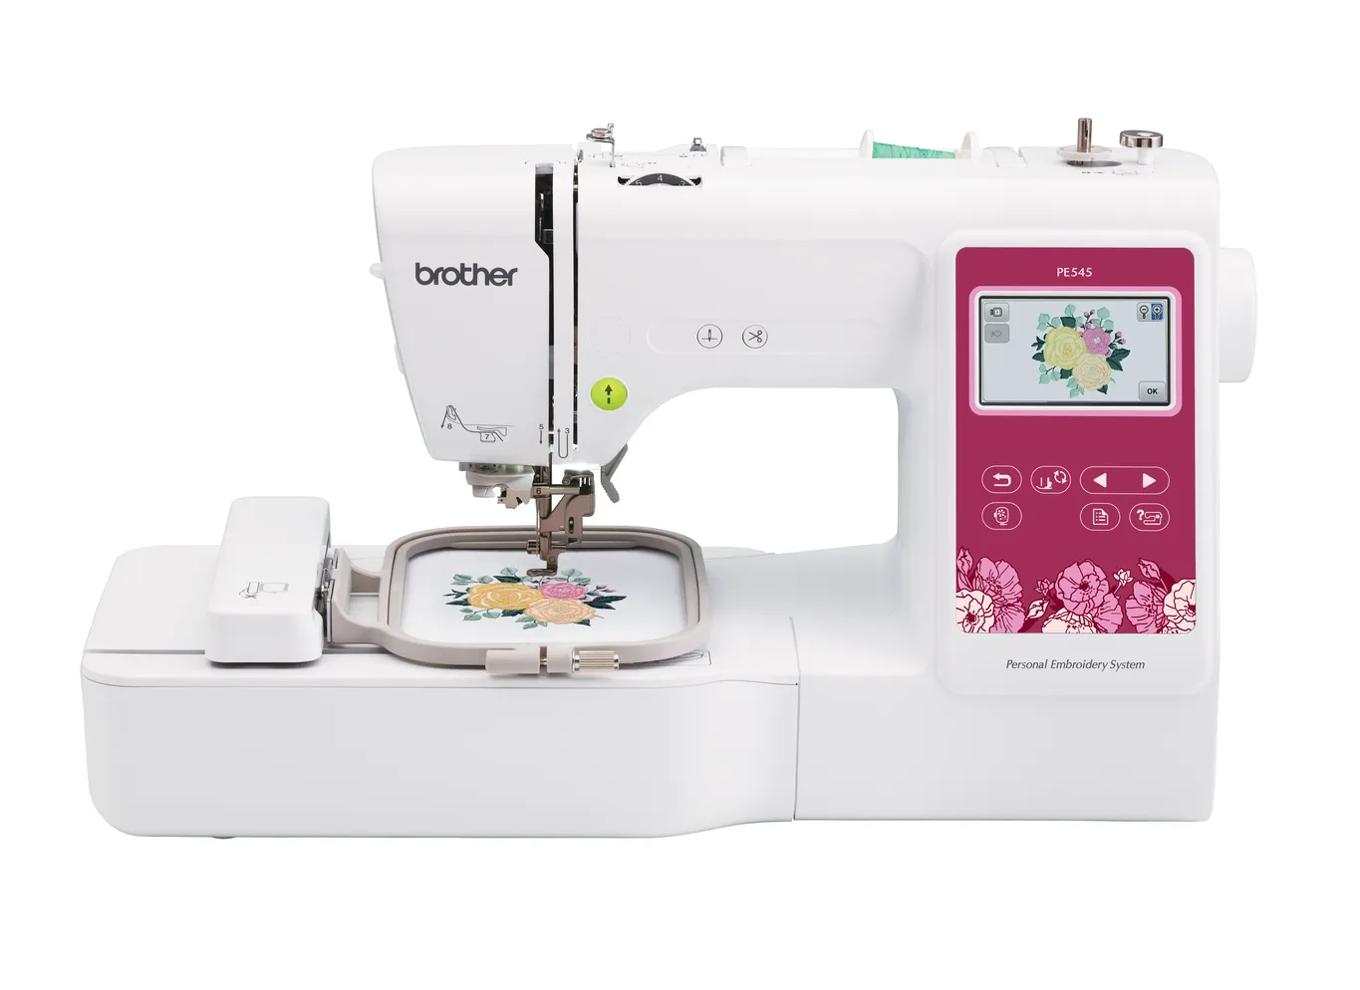
PE545, SE630, SE700, PP1
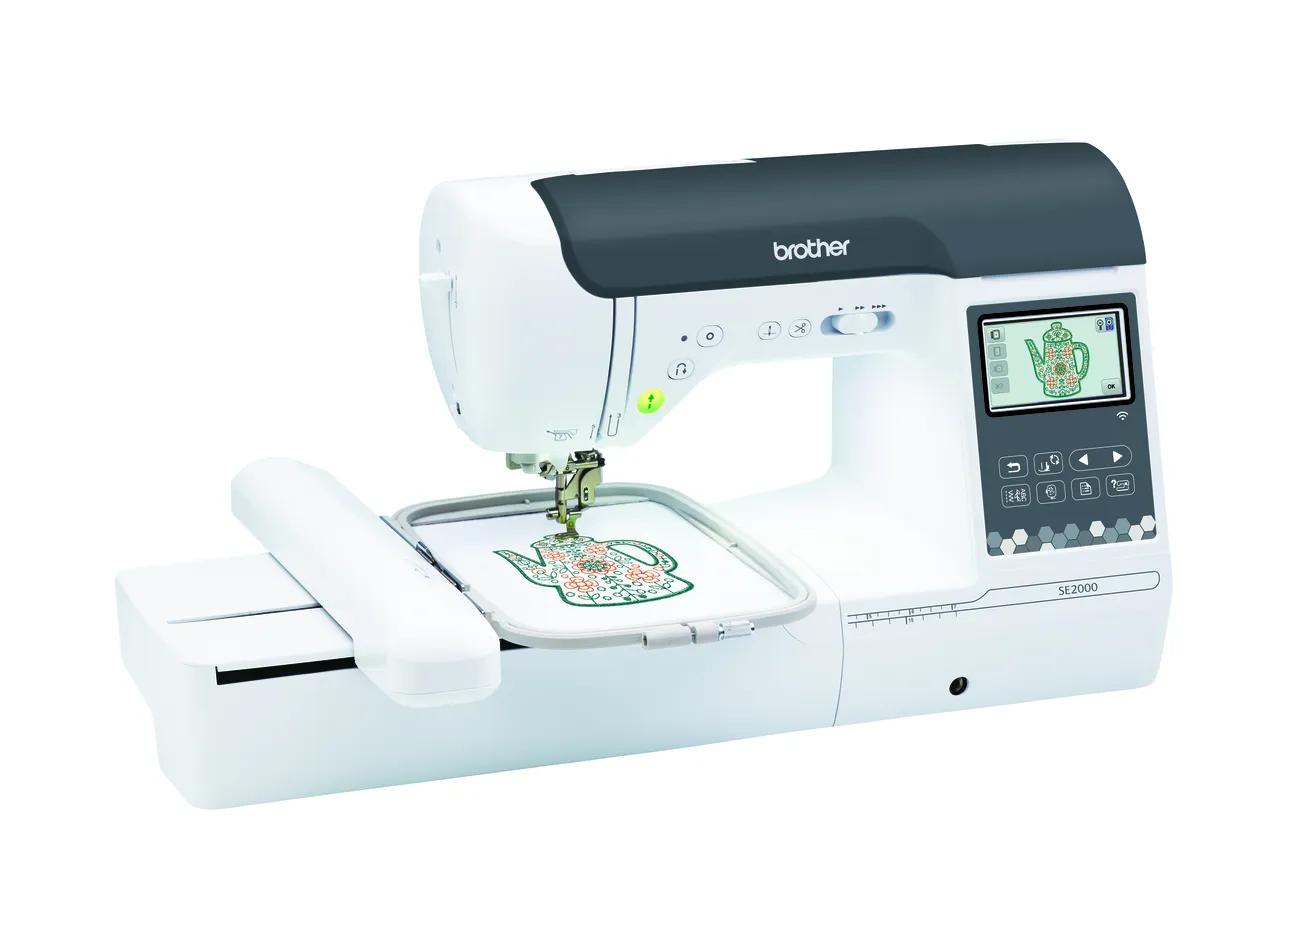
PE900, SE2000
Brother machines (discontinued)
PE535
PE800, SE1900
The field is the area the machine’s embroidery arm can move the needle through. It is the real limit. The plastic hoop is slightly bigger than the field so it can hold fabric around the edges, which is why a hoop’s outer size tells you little.
The 101.6 mm trap
Four inches is 101.6 mm. Brother’s 4 × 4 field is 100 mm. So a design that is exactly 4.00 inches wide is 1.6 mm too wide for the field.
Most design shops size their “4 × 4” files to fit under 100 mm, but not every free or hand-made file does. Always read the stitched size in millimeters, or check it with the hoop fit checker, before you buy or load a design.
The 5 × 7 label works the other way. Five by seven inches is 127 × 177.8 mm, slightly smaller than Brother’s 130 × 180 mm field, so a design at exactly 5 × 7 inches fits with a little room to spare.
Area math: why 5 × 7 is more than “a bit bigger”
The labels make it sound like 5 × 7 is one or three inches bigger. In area, it is 2.34 times the size: 23,400 mm² versus 10,000 mm².
That extra area is mostly height. A 5 × 7 field is 30 mm wider and 80 mm taller. Designs that are long or tall, like a name across a towel, a vertical motif on a tote or a crest on a shirt front, are exactly the ones that do not fit a 4 × 4.
Rotation: when turning a design helps
On a 5 × 7 field, rotating a design 90° can make it fit:
170 × 120 mm design: too wide upright (170 > 130), but rotated it becomes 120 × 170 mm and fits.
140 × 190 mm design: too big both ways. Rotated it is 190 × 140, still too wide. It needs a bigger machine or a split.
150 × 60 mm name: rotated to 60 × 150 mm, it fits; you hoop the item sideways.
On a 4 × 4 field, a 90° turn never helps, because the field is square. If a design does not fit at 100 × 100 mm one way, it does not fit turned sideways either. Tilting a long, thin design at an angle can sometimes squeeze it in, but that changes how it sits on the item, so it is rarely what you want.
The hoop fit checker tests both orientations for you.
What fits in each hoop
Project
4 × 4 (100 × 100 mm)
5 × 7 (130 × 180 mm)
Notes
Monogram or initials
Yes
Yes
The classic 4 × 4 job
Left-chest logo
Yes
Yes
Printful caps left-chest embroidery at 4 × 4 in; watch the 101.6 mm trap
Small baby onesie motif
Usually
Yes
Small garments limit hooping space more than the field does
Patch or small appliqué
Yes, under about 95 mm
Yes
Leave a margin for the satin edge
Name across a hand towel, about 150 mm
No
Yes, rotated
Hoop the towel sideways
Tote bag design, about 120 × 160 mm
No
Yes
5 × 7 is the common tote size
Adult T-shirt front
Small designs only
Yes, up to 130 × 180 mm
Many front designs are sold in 5 × 7 sizes
Larger front, like Printful’s 10 × 6 in embroidery area
This is one of the most expensive misunderstandings. If you buy a larger hoop for a 4 × 4 machine, even one that physically clips on, the machine’s arm still only moves within 100 × 100 mm. The extra hoop area is unused.
Hoops sold as accessories serve other purposes: different shapes, easier hooping, magnetic clamping. Brother, for example, says the PE900 and SE2000 work with an optional 4 × 7 inch magnetic frame. That frame is smaller than the 5 × 7 field, not larger. Nothing you attach changes the machine’s maximum.
Going the other way is fine. A 5 × 7 machine stitches any 4 × 4 design. Madeira recommends using the smallest hoop available for the design, because a snug hoop holds fabric more securely, so a smaller compatible hoop is useful when you have one.
Multi-position and split designs
If a design is too large for your field, there are two workarounds:
Split designs: some designs are sold as several files, each sized for a smaller hoop, with alignment stitches or marks so you can re-hoop and stitch the next section. It works for borders, quilt panels and large pieces, but each section adds hooping and alignment work.
Multi-position hoops: some machines accept hoops that attach in more than one position, so you can stitch one section, move the hoop to the next position and continue. Each section must still fit within the machine’s field; a multi-position hoop does not let a single, unsplit design exceed it.
Either way, a single design larger than your field must be split. If you find yourself doing this often, that is the signal you bought the smaller field.
Shrinking designs to fit
You can reduce a design slightly in software. Embrilliance Essentials, for example, resizes with stitch recalculation, which adjusts the stitches rather than just squeezing them. Large reductions still crowd detail, especially small lettering, so start with a design digitized near your target size. Our design resizing guide covers safe limits.
Size is not the only limit. Brother’s support article on designs the machine will not recognize says one reason is that “the total number of stitches per pattern exceeds the maximum stitch count for the hoop.” It lists:
Hoop
Brother support article
Brother operation manuals
4 × 4
30,000 stitches
Up to 100,000 (PE545, SE700)
5 × 7
50,000 stitches
Up to 200,000 (PE900, SE2000)
These figures conflict, and Brother does not explain the difference. Most designs that fit these fields are far below even the lower figures. If a dense design refuses to load, check its stitch count against your own manual, and see embroidery machine not reading PES files for other causes.
Which should you buy?
If you…
Choose
Only plan monograms, names, small logos and patches
4 × 4
Want T-shirt fronts, totes or popular design-shop sizes
5 × 7
Are not sure yet
5 × 7 (a 5 × 7 machine still does everything a 4 × 4 does)
Already own 5 × 7 designs you love
5 × 7
Know you want 10 × 6 in fronts or large quilt blocks
Every project you can picture is under about 95 mm on each side, and you are buying mainly for monogramming or small motifs. Brother’s current 4 × 4 options are the embroidery-only PE545 and the SE700 and SE630 combos.
Choose 5 × 7 if…
You can name even one project bigger than 4 × 4. If you outgrow a 4 × 4 field, the only fix is another machine. In Brother’s current line, that means the PE900 (embroidery-only) or SE2000 (combo); see PE900 vs SE2000 and SE700 vs SE2000.
The bottom line
Read sizes in millimeters, not labels. A 4 × 4 field is 100 × 100 mm and a 5 × 7 field is 130 × 180 mm, with 2.34 times the area. A 90° turn can help on 5 × 7 but never on 4 × 4, and accessory hoops never expand a machine’s field.
If you are deciding between machines, gather the designs you actually want to stitch and test them in the hoop fit checker. Then decide between embroidery-only and combo with our embroidery-only vs combo guide.
Spec comparison
Manufacturer specifications, checked October 7, 2026. Maximum speed is a ceiling, not typical output.
Permanent support for knits, T-shirts, sweatshirts and anything that stretches. Medium weight suits most first projects; buy enough to test before the real garment.Learn more
Temporary support for stable wovens such as canvas, denim, twill and quilting cotton. Tear gently while supporting the stitches; not a substitute for cut-away on stretchy fabric.Learn more
Mark center lines and placement before hooping so the design lands where you planned. Test that the mark disappears from your fabric before marking a garment.Learn more
Lets you float items that are hard to hoop, such as collars, small pockets and bags. Choose tear-away or cut-away adhesive depending on whether the fabric needs lasting support.Learn more
No. Brother’s 4 × 4 field is 100 × 100 mm, about 3.94 inches. A design sized at exactly 4 inches is 101.6 mm and can be slightly too big, so check the millimeter size before buying.
How much bigger is 5 × 7 than 4 × 4?
Brother’s 5 × 7 field is 130 × 180 mm, or 23,400 mm², versus 10,000 mm² for 4 × 4. That is about 2.34 times the stitchable area.
Can I stitch 4 × 4 designs on a 5 × 7 machine?
Yes. Any design that fits 100 × 100 mm also fits 130 × 180 mm. Madeira recommends using the smallest hoop available for the design, so a smaller compatible hoop helps when you have one.
Can I buy a 5 × 7 hoop for a 4 × 4 machine?
Even if a larger hoop physically attaches, it does not expand the machine’s embroidery field. The arm only moves within the area the machine supports, so for 5 × 7 designs you need a 5 × 7 machine.
Is 5 × 7 big enough for a T-shirt front?
For many adult T-shirt front designs, yes, within 130 × 180 mm. Larger front designs, such as Printful’s 10 × 6 inch embroidery area, need a 6 × 10 class machine.
What is the maximum stitch count for a 4 × 4 or 5 × 7 design?
Brother’s support article lists 30,000 stitches for 4 × 4 and 50,000 for 5 × 7, while Brother manuals list up to 100,000 (PE545, SE700) and 200,000 (PE900, SE2000). Check your own manual.
✓
Sources & method
This guide is compiled from manufacturer documentation and specialist sources, not hands-on testing. We link every source so you can check it. Specifications change, so confirm details against your exact model manual. How we research.
 5 × 7 embroidery-only: most beginners who already sew or only decorateCheck price
 5 × 7 combo: first and only machine, sewing includedCheck price
 4 × 4 embroidery-only: monograms and small motifs onlyCheck price