Buying guides
Best embroidery machine for T-shirts (and how to stitch knits well)
The best embroidery machine for T-shirts depends on hoop size: 4 × 4 for left-chest logos, 5 × 7 or larger for fronts. Plus the stabilizer, needle and hooping knits need.
As an Amazon Associate I earn from qualifying purchases. It does not change the price you pay. How we handle links.
Our picks at a glance
Full pros, cons & specs for each ↓Quick answer
For most people embroidering T-shirts, the Brother PE900 is the best fit: its 5 × 7 field covers left-chest logos and most chest designs, and it adds Wi-Fi and jump stitch trimming. Choose the SE2000 for the same embroidery plus sewing, the NQ1700E for larger 6 × 10 fronts, and the PE545 only if you will stitch small left-chest designs. Whatever you buy, pair knits with a cut-away or no-show mesh stabilizer and a ballpoint needle.
- Left-chest logos usually fit a 4 × 4 field; full-front designs need 5 × 7 or larger.
- The PE900 and SE2000 share the same 5 × 7 embroidery specs; the SE2000 adds sewing.
- Knits need cut-away stabilizer; no-show (poly) mesh is the soft, light option for tees.
Jump to a section
Our shortlist
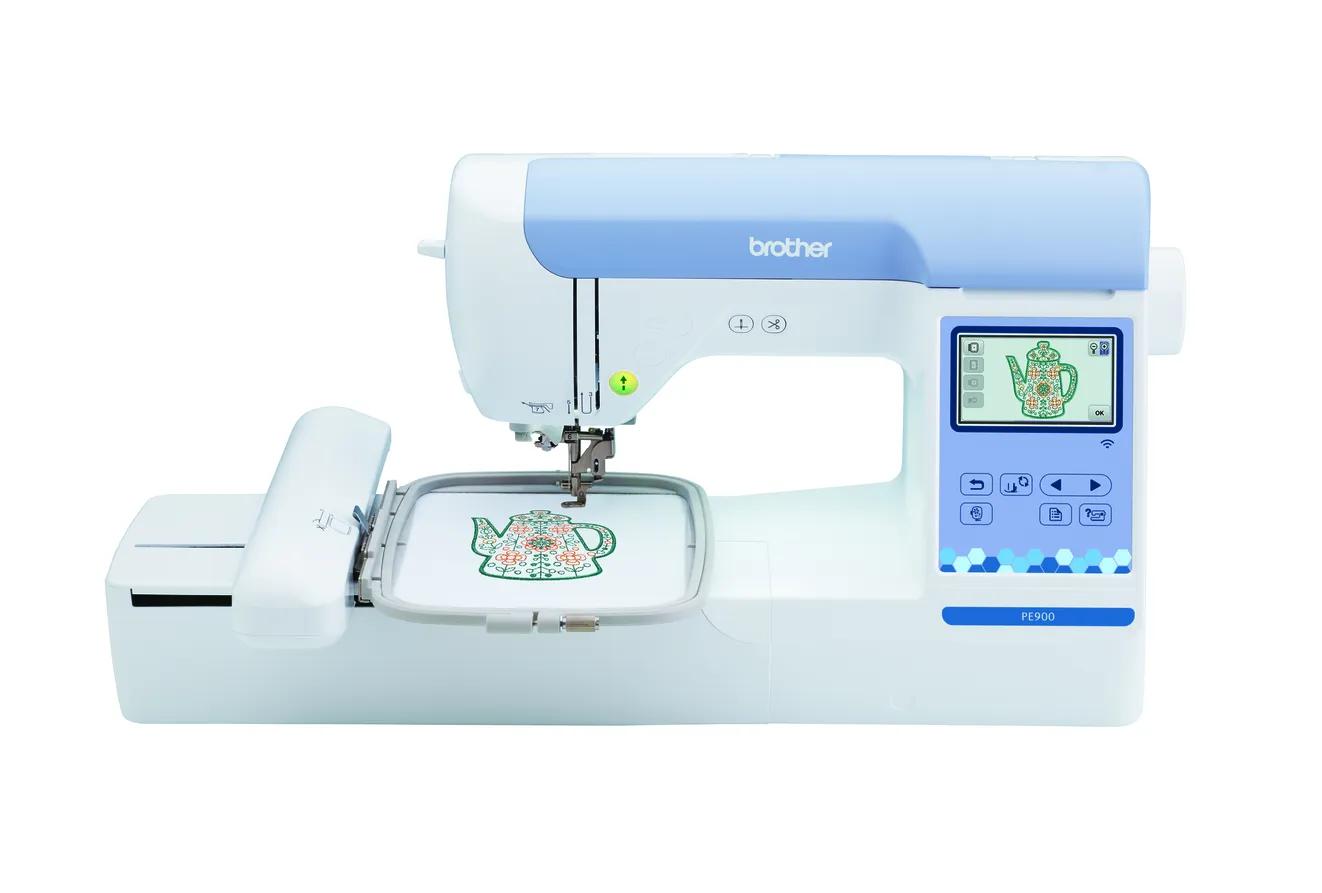
Brother PE900
Best for: Beginners who already sew (or do not need to) and want room for T-shirt fronts, totes and most popular design sizes.
- Field5 × 7 in (130 × 180 mm)
- TypeEmbroidery only
- Built-in designs193
- Max speed650 spm
- TransferUSB, Wi-Fi, Artspira app
Why pick it
- 5 × 7 field fits most popular design sizes
- Up to 650 spm
- Wireless transfer, Artspira and jump stitch trimming
Think twice if
- No sewing functions
- Single needle: you re-thread for every color
- Designs over 130 × 180 mm need splitting and re-hooping
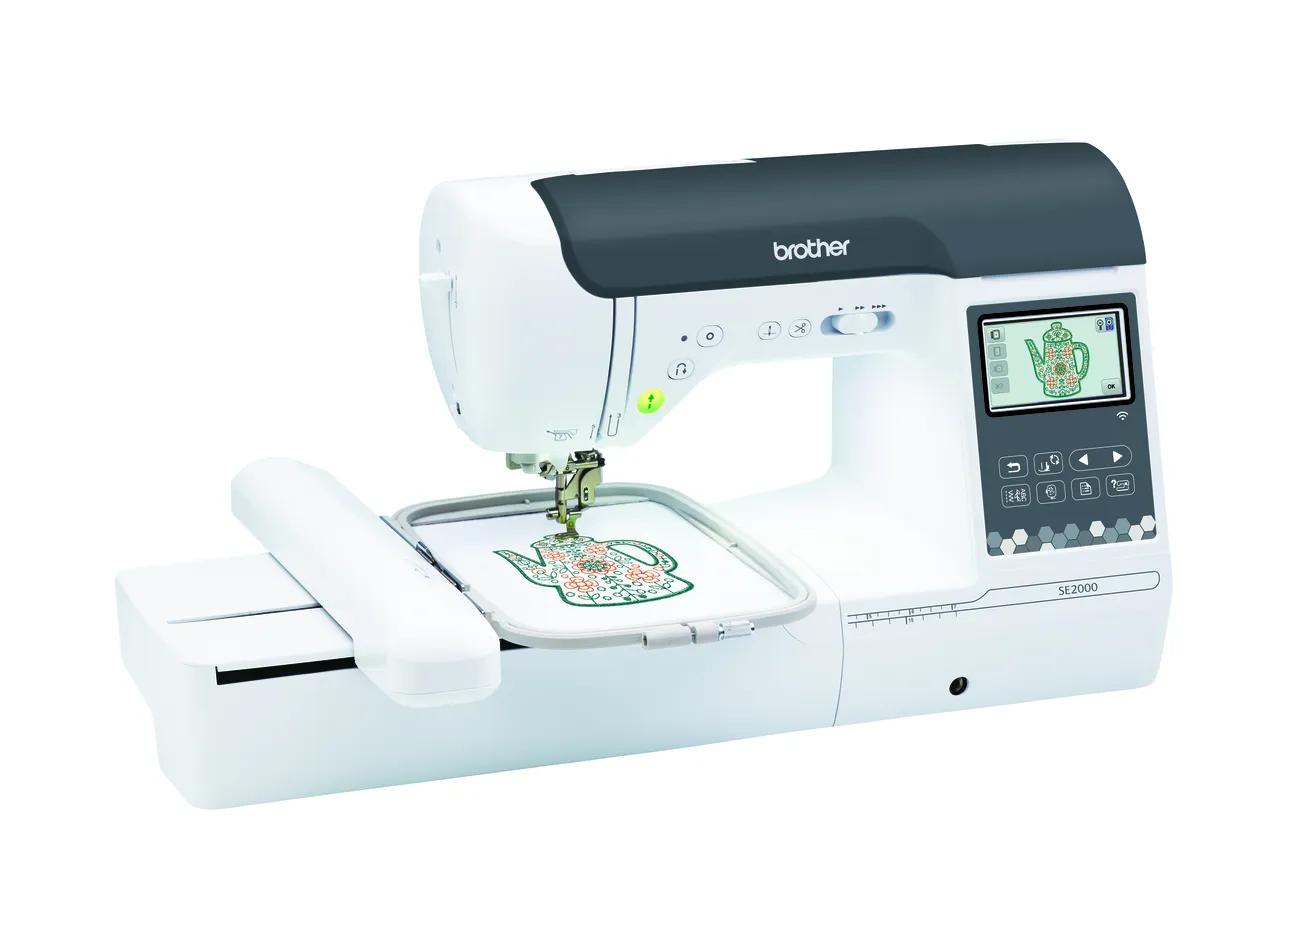
Brother SE2000
Best for: Beginners who want one machine for both sewing and 5 × 7 embroidery.
- Field5 × 7 in (130 × 180 mm)
- TypeSewing + embroidery
- Built-in designs193
- Max speed650 spm
- TransferUSB, Wi-Fi, Artspira app
Why pick it
- Sewing and 5 × 7 embroidery in one machine
- 241 sewing stitches
- Wireless transfer, Artspira and jump stitch trimming
Think twice if
- Embroidery field no larger than the PE900
- You cannot sew and embroider at the same time
- Converting between modes takes setup
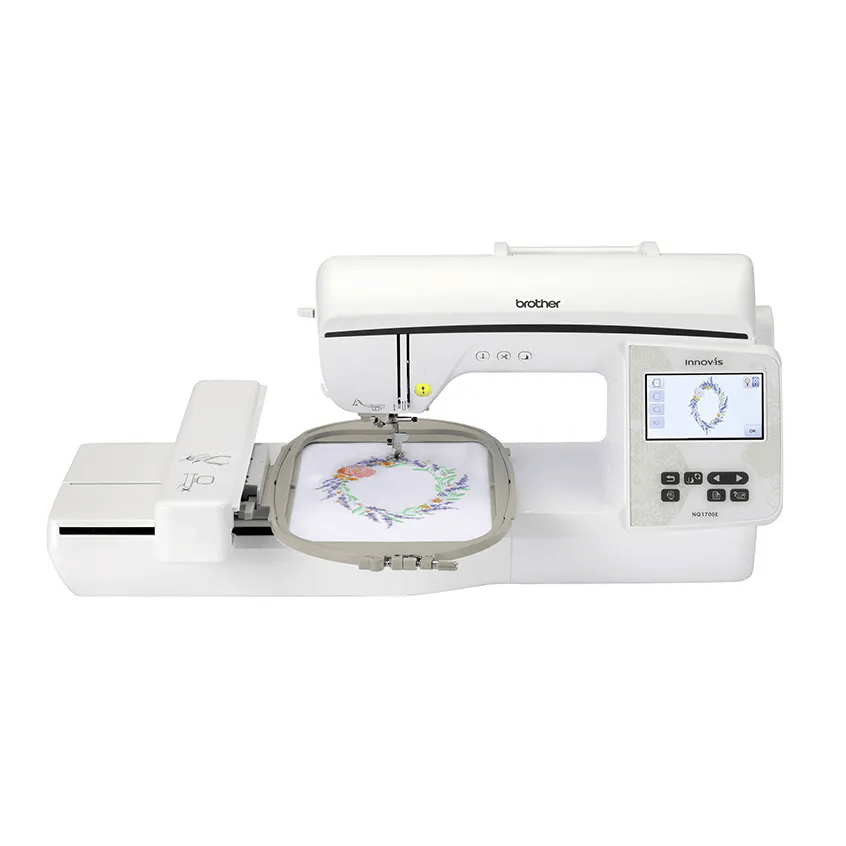
Brother NQ1700E
Best for: Beginners who already know they want bigger designs (jacket backs, larger quilt blocks) without re-hooping.
- Field6 × 10 in (160 × 260 mm)
- TypeEmbroidery only
- Built-in designs258
- Max speed850 spm
- TransferUSB, Wi-Fi, Artspira app
Why pick it
- 6 × 10 field: about 78% more area than 5 × 7
- Up to 850 spm
- Both 6 × 10 and 5 × 7 frames included
Think twice if
- No sewing functions
- More machine than many beginners need
- Still single needle
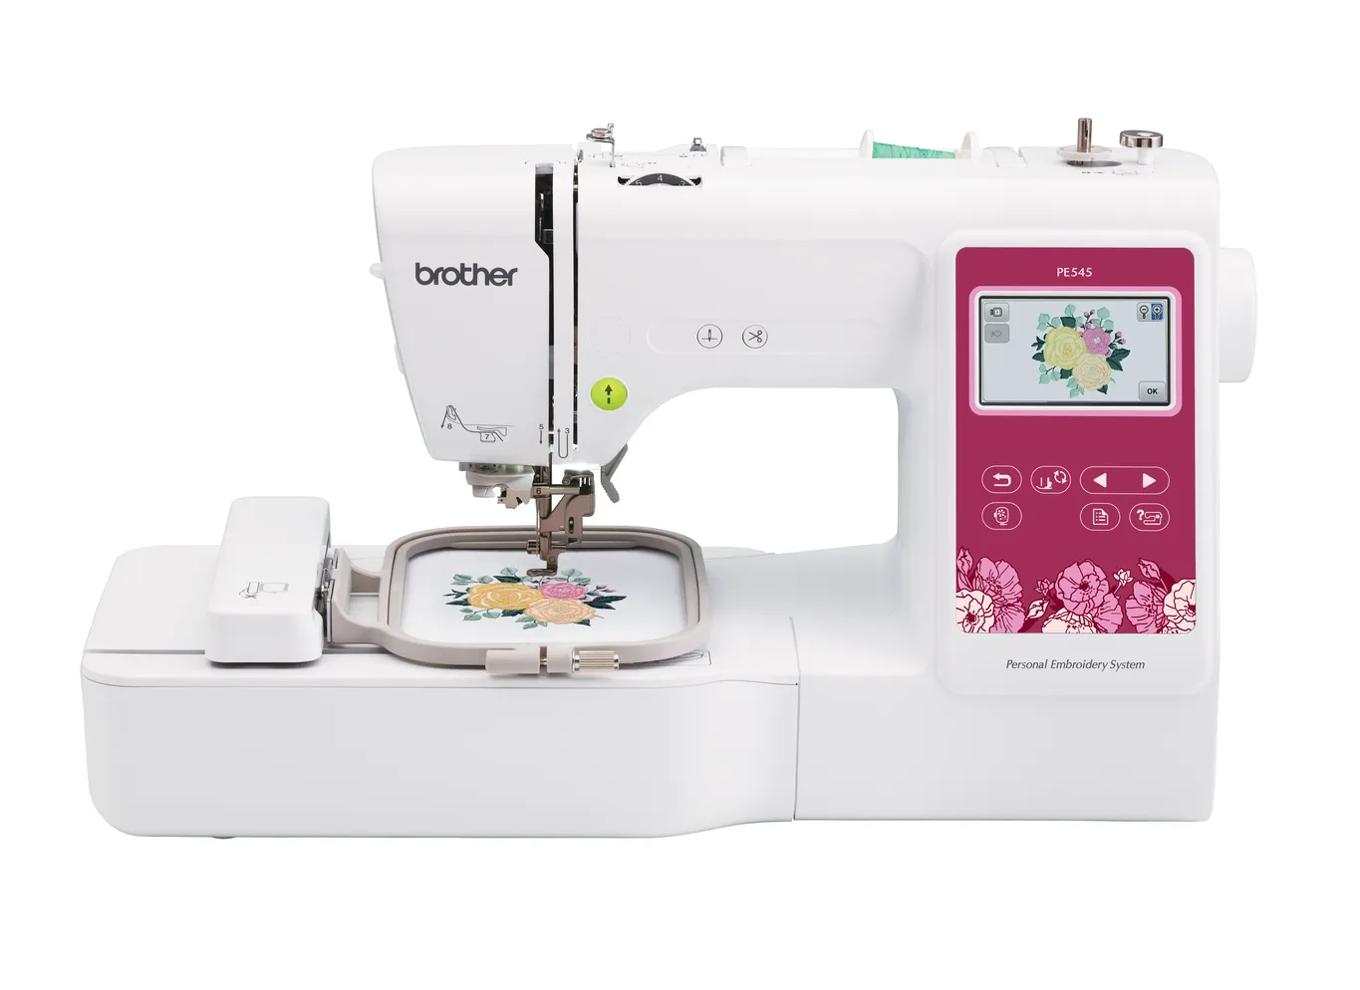
Brother PE545
Best for: Beginners who already own a sewing machine and mainly want monograms, names, patches and small motifs.
- Field4 × 4 in (100 × 100 mm)
- TypeEmbroidery only
- Built-in designs135
- Max speed400 spm
- TransferUSB, Wi-Fi, Artspira app
Why pick it
- Embroidery-only, so you are not paying for sewing features you may not need
- Wireless transfer and Artspira support, which the PE535 lacked
- 135 built-in designs and 10 fonts cover first projects
Think twice if
- 100 × 100 mm field limits design size
- Max speed of 400 spm is lower than the 5 × 7 models
- Cannot sew seams; you still need a sewing machine
T-shirts are one of the first things people want to embroider, and one of the easiest places to go wrong. The machine choice comes down mostly to hoop size. The results come down to stabilizer, needle and how you hoop a stretchy knit.
This guide covers both. Machine specs come from Brother’s product pages; technique advice comes from stabilizer, thread and needle makers. EmbroideryWise is research-based, so we cite where each claim comes from.
Which embroidery machine is best for T-shirts?
Match the machine to the largest T-shirt design you plan to stitch.
| What you want to put on shirts | Field you need | Machine to look at |
|---|---|---|
| Small left-chest logos, initials, sleeve details | 4 × 4 (100 × 100 mm) | PE545 |
| Left-chest plus chest designs on adult tees | 5 × 7 (130 × 180 mm) | PE900 or SE2000 |
| Larger full-front graphics in one hooping | 6 × 10 (160 × 260 mm) | NQ1700E |
| Back designs larger than 6 × 10 | Split designs and re-hoop, or a larger machine | See design resizing |
If you have a design file already, check it in our hoop fit checker. It compares the design dimensions with each machine’s field, including rotating the design.
What hoop size do you need for left-chest vs full-front designs?
Left chest. Left-chest logos and monograms are small by nature, so a 4 × 4 field covers most of them. Placement matters as much as size: GRAPHICS PRO describes measuring down from where the shoulder seam meets the collar, about 7 to 9 inches for men and 5 to 7 inches for women, and about 4 to 5 inches from the garment center.
Full front. Center-chest and full-front designs are where 4 × 4 runs out. Embroidery Library’s placement guide puts the top of a center-chest design about 3½ to 4½ inches below the neck, centered between the side seams. A 5 × 7 field handles many chest designs; a 6 × 10 field gives room for a larger graphic without splitting it.
Our embroidery placement guide covers other placements, such as sleeves and backs, step by step.
Brother PE900: the best fit for most T-shirt projects
Brother lists the PE900 with a 5 × 7 field (180 × 130 mm in the manual), 193 designs, 13 fonts, up to 650 stitches per minute, Wi-Fi, Artspira and jump stitch trimming. Brother also says it works with an optional 4 × 7 inch magnetic frame, sold separately.
Who it’s for: anyone who wants left-chest logos and chest designs on the same machine and already sews on another machine (or doesn’t need to sew).
Skip it if: you need sewing in the same machine (the SE2000), or most of your shirt designs are larger than 5 × 7 (the NQ1700E).
What you give up: it is single needle, so you re-thread for every color. For multi-color logos on many shirts, that adds up; see our single vs multi-needle guide.
Brother SE2000: same embroidery, plus sewing
The SE2000’s embroidery specs match the PE900: 5 × 7 field, 193 designs, 13 fonts, 650 spm, Wi-Fi, Artspira and jump stitch trimming. It adds 241 sewing stitches and sewing up to 850 spm.
Choose it over the PE900 if you have no sewing machine and want to hem, mend or sew your own garments. Choose the PE900 if you already sew on something else. The PE900 vs SE2000 comparison covers the full trade-off.
Brother NQ1700E: when you want bigger shirt fronts
Brother lists the NQ1700E with a 6 × 10 field (26 × 16 cm in the manual), 258 designs, 13 fonts, up to 850 spm and a 4.85 inch touch screen. Brother’s accessories document lists both a 6 × 10 frame and a 5 × 7 frame, so you still have a smaller hoop for left-chest work.
Who it’s for: people who already know they want larger front or back graphics in one hooping.
Skip it if your designs fit 5 × 7. The bigger field doesn’t help on a small logo, and the PE900 vs NQ1700E comparison explains when the step up pays off.
Brother PE545: only for left-chest and small designs
The PE545 has a 4 × 4 field, 135 designs, 10 fonts, 400 spm, Wi-Fi and Artspira, according to Brother. It is a good fit if your shirt plans are left-chest logos, names and small motifs.
Skip it if you want anything across the chest. Chest designs are a common reason people outgrow a 4 × 4 machine.
What stabilizer should you use on T-shirts?
Knits stretch, so they need a stabilizer that stays in after stitching. OESD’s stabilizer guide says cut-away is for fabrics that stretch, including knits, and that tear-away is for stable fabrics without stretch. Madeira makes the same distinction: cut-away for stretchy knits, tear-away for heavier wovens.
For tees specifically, Urban Threads recommends a sheer cut-away such as no-show mesh, bonded with temporary spray adhesive. OESD notes its PolyMesh is good for thinner fabrics to prevent show-through and for knits.
| Shirt and design | Stabilizer | Notes |
|---|---|---|
| Light or thin tee, light design | No-show (poly) mesh cut-away | Soft and less visible through light fabric |
| Medium tee, denser logo | Medium cut-away | More support for more stitches |
| Heavier knit or sweatshirt | Medium to heavier cut-away | Madeira says fabric and design density decide the weight |
| Any knit | Not tear-away alone | Tear-away is for stable, non-stretch fabrics |
Our best stabilizer for T-shirts guide goes deeper, and cut-away vs tear-away explains why knits need cut-away.
Which needle is best for T-shirts?
Madeira recommends ballpoint needles for knits such as T-shirts, fleece and sweatshirts, and sharp needles for tightly woven fabrics. Brother’s manual recommends a 75/11 needle for most embroidery and a ballpoint needle when stitching short stitches such as small letters.
A 75/11 ballpoint is a sensible default for tees. Change it when you hear an unusual sound or see skipped stitches, as Brother’s manual advises. Our embroidery needles guide covers sizes and types.
Which thread holds up on T-shirts?
T-shirts get washed often, so thread choice matters more than on a wall hanging. Brother’s manual recommends 40-weight rayon or polyester embroidery thread for most embroidery. Madeira says its Polyneon polyester is resistant to chlorine bleach and suited to uniforms, and OESD says Isacord polyester is colorfast to detergent, chlorine bleach and light.
Rayon gives a high sheen, but Sulky’s guide notes it is colorfast with detergents that don’t contain chlorine or optical brighteners. For shirts that may see bleach, polyester is the safer default. Our embroidery thread guide compares the options.
Does the design matter as much as the machine?
Yes. A dense, heavy-fill design pulls harder on a thin knit than an open, light design. Madeira says the fabric type and the design’s size and density determine the weight of cut-away you need, so a big solid logo on a thin tee needs more support than a line-art motif.
When you shop for shirt designs, lighter designs are easier to get right on thin tees, and a soft no-show mesh may not be enough for heavy fills. Test on a similar spare shirt first.
How do you hoop a T-shirt without stretching it?
This step decides whether your shirt puckers. Madeira says fabric should be hooped snugly with no stretching, because overstretching causes puckering. A knit pulled tight in the hoop relaxes once you unhoop it and gathers around the stitches.
A practical routine:
- Mark the center and placement lines on the shirt before hooping.
- Bond the cut-away to the inside of the shirt with a light mist of temporary spray adhesive, as Urban Threads and Sulky suggest. Madeira advises using spray sparingly.
- Hoop the shirt and stabilizer together, smoothing the knit flat rather than pulling it.
- Alternatively, hoop an adhesive stabilizer and press the shirt onto it without distorting the knit, which Sulky describes as an option for knits.
- Roll or clip the rest of the shirt out of the needle’s path, and support it so it doesn’t hang off the table. Brother lists fabric hanging off the table as a cause of misalignment.
Our hooping guide shows hooping and floating step by step.
What do you give up at each level?
| Machine | You get | You give up |
|---|---|---|
| PE545 | Lowest entry, Wi-Fi, 135 designs | Anything larger than 4 × 4; 400 spm |
| PE900 | 5 × 7, 650 spm, jump trimming | Sewing; designs over 5 × 7 need splitting |
| SE2000 | Same embroidery as PE900, plus sewing | Nothing on embroidery; costs more than the PE900 |
| NQ1700E | 6 × 10, 850 spm, larger screen | Sewing; more machine than small logos need |
If you plan to sell shirts, time per shirt matters as much as field size. Single-needle machines stop for each color change, and the stitch time calculator shows how that adds up. Our small business guide covers when to move to a multi-needle machine.
Common T-shirt problems and fixes
Brother’s troubleshooting list names insufficient stabilizer, incorrect tension and threading mistakes as causes of puckering, and fabric loose in the frame as a cause of misalignment. Most T-shirt issues trace back to hooping and stabilizer rather than the machine. If a shirt puckers, start with our puckering guide before blaming the machine.
Spec comparison
| Model | Field | Type | Designs | Max speed | Transfer | Shop |
|---|---|---|---|---|---|---|
| Brother PE545 | 4 × 4 in | Embroidery only | 135 | 400 spm | USB, Wi-Fi, Artspira app | Check price ↗ |
| Brother PE900 | 5 × 7 in | Embroidery only | 193 | 650 spm | USB, Wi-Fi, Artspira app | Check price ↗ |
| Brother SE2000 | 5 × 7 in | Sewing + embroidery | 193 | 650 spm | USB, Wi-Fi, Artspira app | Check price ↗ |
| Brother NQ1700E | 6 × 10 in | Embroidery only | 258 | 850 spm | USB, Wi-Fi, Artspira app | Check price ↗ |
What to buy
- Shop on Amazon ↗
No-show mesh (poly mesh) cut-away
A soft, light cut-away for light-colored or thin knits where a heavy backing would show. Best with light-to-medium density designs; heavy fills may need a firmer cut-away. Learn more
- Shop on Amazon ↗
Cut-away stabilizerStart here
Permanent support for knits, T-shirts, sweatshirts and anything that stretches. Medium weight suits most first projects; buy enough to test before the real garment. Learn more
- Shop on Amazon ↗
Ballpoint embroidery needles
A rounded tip slips between knit fibers instead of piercing them. Useful for T-shirts, polos and sweatshirts; still pair with a cut-away stabilizer. Learn more
- Shop on Amazon ↗
Temporary spray adhesive
Bonds fabric to stabilizer to reduce shifting when floating or hooping slippery fabric. Use it sparingly, away from the machine, and check the label for fabric suitability. Learn more
Frequently asked questions
What size hoop do I need for T-shirts?
A 4 × 4 field is enough for most small left-chest logos and monograms. For designs across the chest or the front, you want at least a 5 × 7 field, and a 6 × 10 field for larger graphics in one hooping.
What stabilizer is best for T-shirts?
A cut-away. Urban Threads recommends a sheer cut-away such as no-show mesh with temporary spray adhesive, and Sulky recommends cut-away stabilizers for knits. Tear-away is meant for stable fabrics without stretch.
Do I need a ballpoint needle for T-shirts?
It is a good idea. Madeira recommends ballpoint needles for knits like T-shirts, fleece and sweatshirts, and Brother’s manual recommends a ballpoint needle for short stitches such as small letters.
Can I embroider a T-shirt on a 4 × 4 machine?
Yes, for left-chest logos, names, small motifs and sleeve details. You cannot stitch a large front design in one hooping on a 4 × 4 machine.
Why does my T-shirt pucker around the embroidery?
Common causes are stretching the knit while hooping and not using enough stabilizer; Madeira says overstretching causes puckering. Brother lists insufficient stabilizer and tension or threading problems as causes of puckering.
Sources & method
This guide is compiled from manufacturer documentation and specialist sources, not hands-on testing. We link every source so you can check it. Specifications change, so confirm details against your exact model manual. How we research.
- Brother PE900 product page
- Brother SE2000 product page
- Brother NQ1700E product page
- Brother PE545 product page
- Urban Threads: embroidery on T-shirts
- Sulky: stabilizer for machine embroidery on knits
- OESD stabilizer guide (PDF)
- Madeira: common mistakes new embroiderers make
- Madeira: the basics of 75/11 needles
- Brother operation manual: needles
- Madeira: how to hoop
- Brother operation manual: thread
- Madeira Polyneon polyester thread
- OESD: facts about Isacord embroidery thread
- Sulky Thread & Needle Guide (PDF)
- Madeira E-Zee Cut Away
- Brother operation manual: list of symptoms
- GRAPHICS PRO: how to prep a left-chest embroidery placement
- Embroidery Library: embroidery placement guide